Updated on May 28, 2026
In our previous articles, we have shown the steps to install live chat on different types of websites like HTML, WordPress, Squarespace, Wix, Shopify.
In this post, we will show you the steps to install live chat using Google Tag Manager.
First, you need to choose the live chat plugin which you want to add to your website. Here I am taking an example of a live chat plugin Kommunicate, bot + human hybrid customer support platform. You can signup here and get the script to proceed further.
Bonus >> Step by step guide to install chatbot into your website.
Step 1: Create a Google tag manager account
- Sign in to your google account
- Navigate to Google tag manager
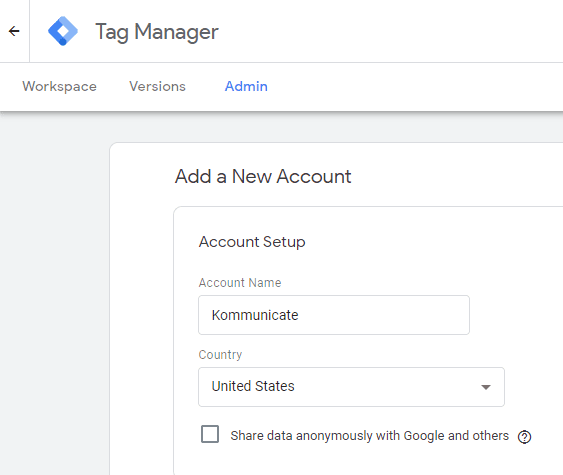
- On the right side, click on create account
- Give the name for your account
- Choose your country and click on continue
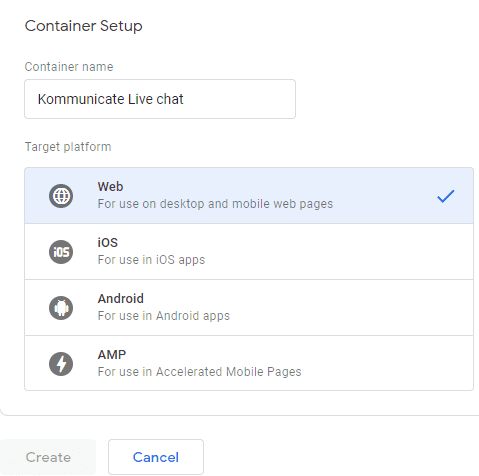
Start Crafting Your Chatbot Experience Without Sign upNext, you need to set up a container for your account
The container consists of all of your rule and tags such as Google AdWords tag, Google Analytics tag, Live chat tag.
- Give a name to your container
- Choose your target platform (Web) and click on create
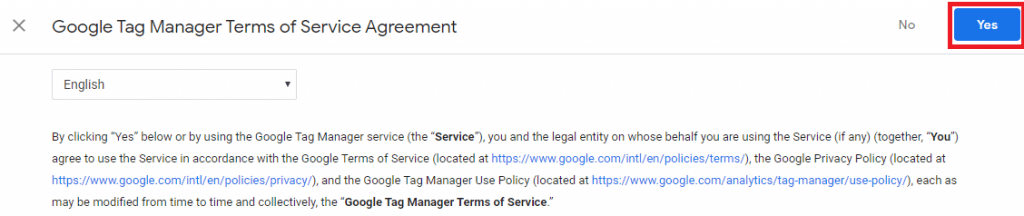
- Accept google tag manager terms
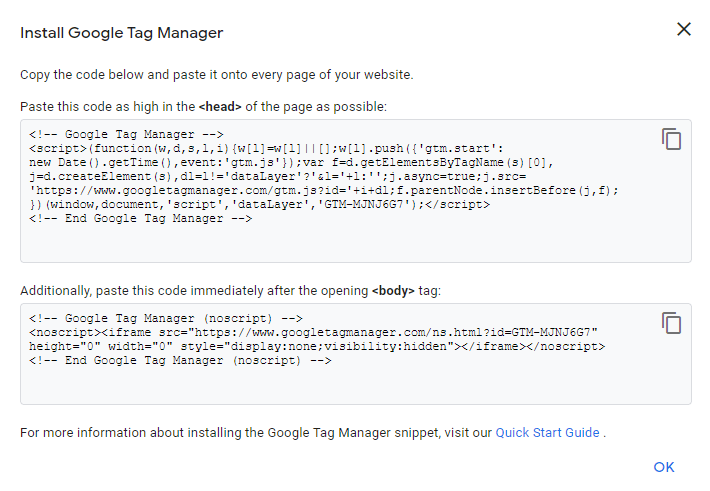
Step 2: Install GTM into your website
Once you accept the terms, there will be pop up as shown below.
Copy the code and paste it onto every page of your website.
Once you paste the code, click ok to finish the GTM set up on your website.
To install the live chat into your website, you need to install the new tag and configure it.
Go to the Tag manager dashboard > Workspace > Add new tag
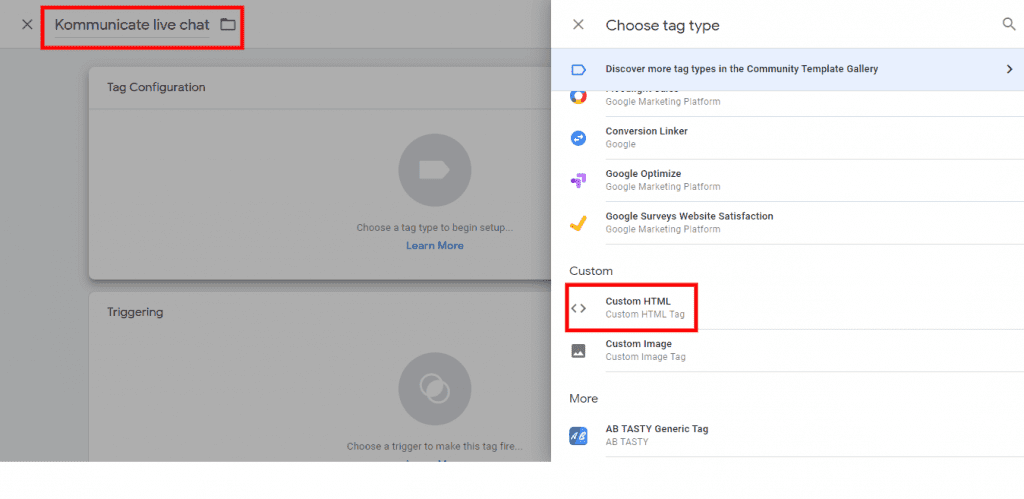
Give a name to your tag > Choose custom HTML
Step 3: Add your live chat code into GTM
Sign in to your kommunicate dashboard > Go to settings > Click on install > Copy the code > Paste it as shown below > Set trigger as all pages > Click on save.
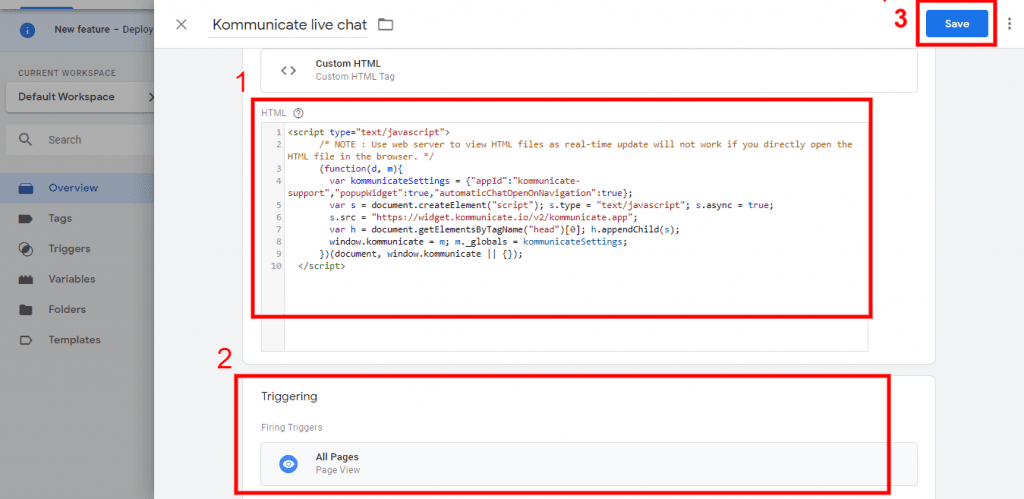
Then you need to publish your tag for activating your LiveChat.
Click on tags in your GTM dashboard > Select your tag > Click on submit
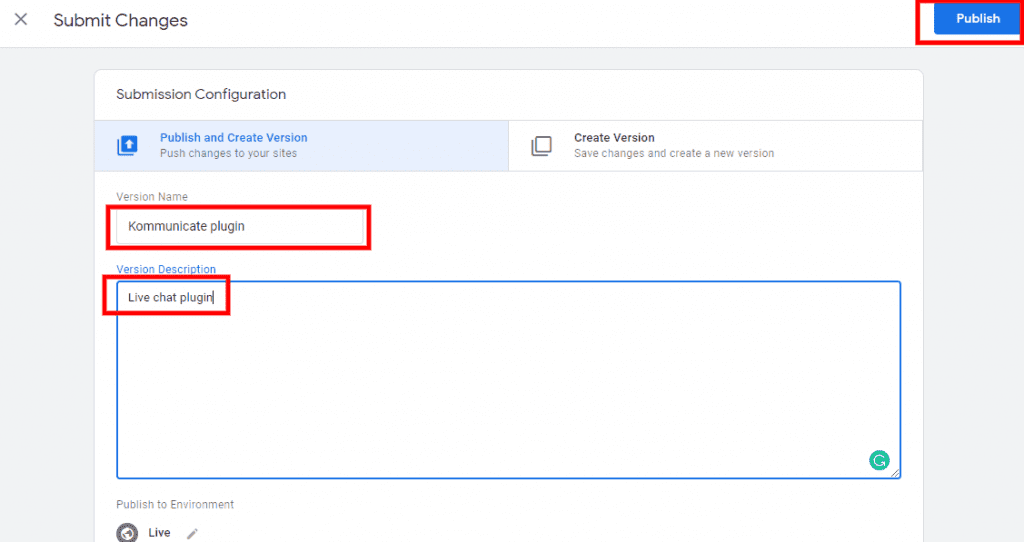
Give version name > Describe the plugin > Click on publish
Go to your homepage and refresh the page to see your live chat plugin.
If you have any confusion please let us know in the comments.
🚀 Read: How to Add Live Chat Plugin in Squarespace Websites
🚀 Read: How to Add Live Chat Plugin in Wix Websites
At Kommunicate, we are envisioning a world-beating customer support solution to empower the new era of customer support. We would love to have you onboard to have a first-hand experience of Kommunicate. You can signup here and start delighting your customers right away.


