Updated on January 17, 2025
What is Node.js?
Node.js is an open-source, Server side platform & cross-runtime environment platform which allows you to build backend and front-end applications using JavaScript.
Node JS is popular for backend applications as it supports a huge number of plugins and better spin-up times.
Steps to create and integrate Dialogflow agent with NodeJS
Create an Agent
An agent is just a chatbot. You can train the agent with training phrases and their corresponding responses to handle expected conversation scenarios with your end-users.
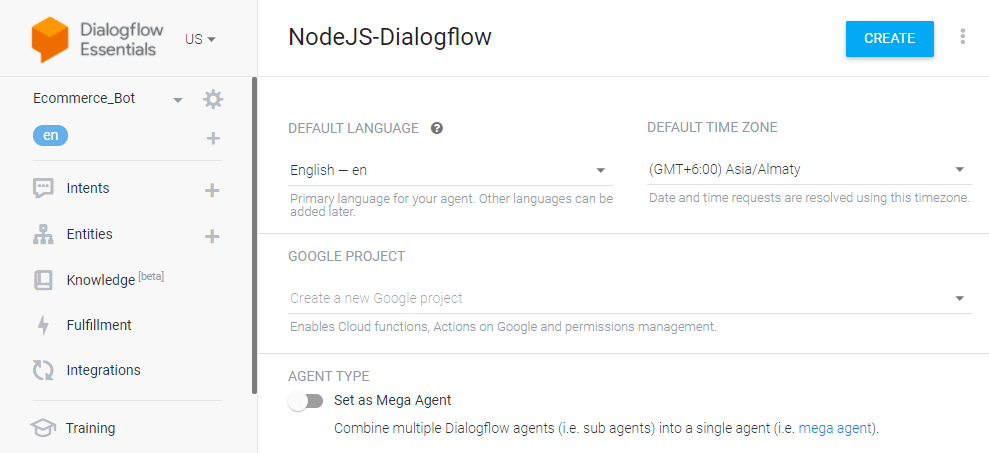
- Click the dropdown near the Agent settings then click Create new agent, provide an agent name (For example – NodeJS-Dialogflow) then click CREATE
Create an Intent
An intent categorizes end-users intention for one conversation turn. For each agent, you can define many intents. When an end-user writes or says something, referred to as an end-user expression, Dialogflow matches the end-user expression to the best intent in your agent.
- Click the ‘CREATE INTENT’ button and provide an intent name (for example, webhook-demo) and save

Add Training phrases
These are example phrases for what end-users might say. When an end-user expression resembles one of these phrases, Dialogflow matches the intent.
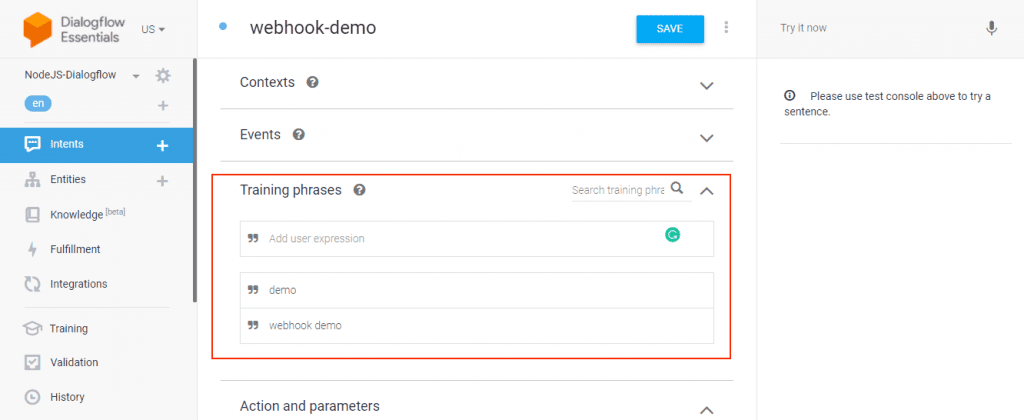
- Click the intent created (webhook-demo) and add the user phrases in the Training phrases section
🚀 Video: Creating A DialogFlow Bot – Agents, Intents, Entities
Enable Fulfillment
Once an intent is completed, you don’t need to add any agent responses in the ‘Responses’ section of the intent but instead, you need to enable webhook for the intent.
Fulfillment is a code deployed through a web service to provide data to a user.
You can enable webhook calls for all those intent that required some backend processing, database query, or any third party API integration.
- Under the “Fulfillment” section, click Enable webhook for this intent and save the intent
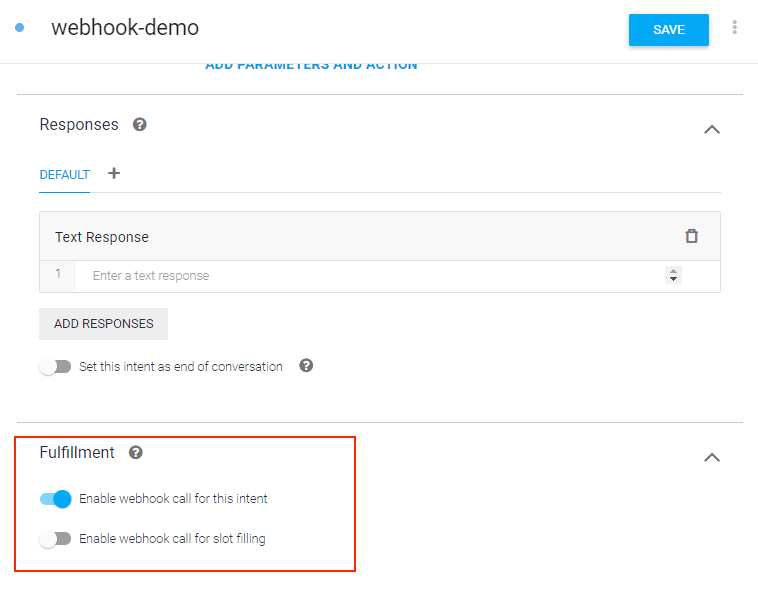
Dialogflow fulfillment has two options – Webhook and Inline Editor. The inline editor also a webhook part but hosted by Google cloud functions. We are going to use the webhook.
- Go to the “Fulfillment” section & enable Webhook
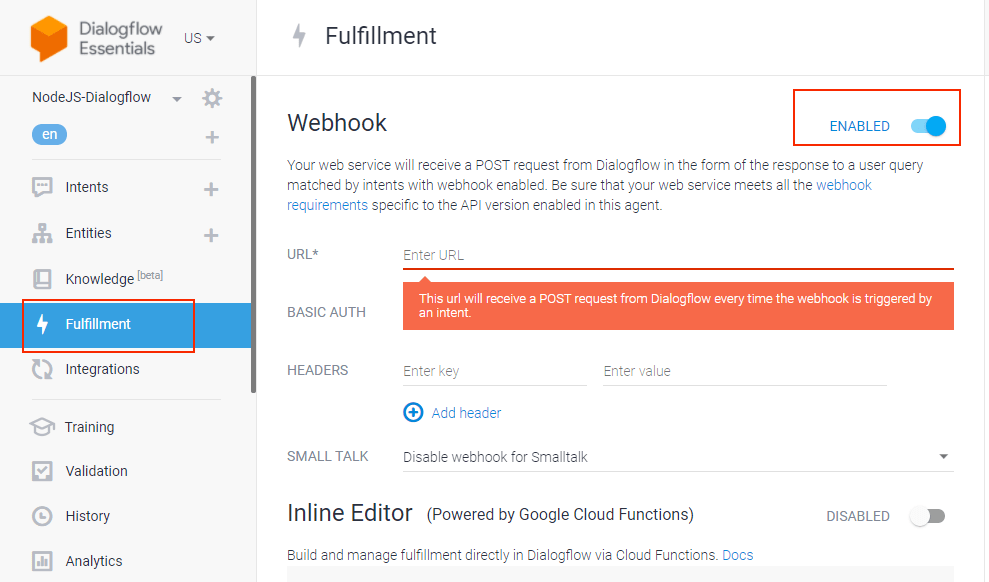
Enable Webhook Server
The webhook requires a URL of the webhook, it should be HTTPS and the webhook URL will receive a POST request from Dialogflow every time the webhook is triggered by an intent.
To create the URL, we need to create a webhook server basically a node application server.
We need three dependencies for the node server and installed on the server using npm.
- actions-on-google – Used to create actions on Dialogflow where the Dialogflow fulfillment libraries are dependent on actions-on-google
- dialogflow-fulfillment – Getting the agent request from Dialogflow and then process
- express – It is a node js framework used to create the NodeJS server.
npm i express
npm i actions-on-google
npm i dialogflow-fulfillment
Create a server file app.js, export the dependencies – express, WebhookClient so the server can send the request and response to the client.
app.use(express.json())
- Once the application is created, the request comes to the node js backend server and this request will be passed by use method. Any requests that come will first come to ‘app.use’ then it will execute ‘app.use’ code and go to your route function. Finally, convert the request module to JSON.
To handle all the agent webhook requests, add a route/webhook.
Then create an intent map to handle all the intents. If you have many intents then set an intent map for all the intents of the agent – pass the intent name and handleWebHookIntent where it will send the text response to Dialogflow and trigger the response.
const express = require('express')
const {WebhookClient} = require('dialogflow-fulfillment')
const app = express()
app.use(express.json())
app.get('/', (req, res) => {
    res.send("Server Is Working......")
})

/**
* on this route dialogflow send the webhook request
* For the dialogflow we need POST Route.
* */
app.post('/webhook', (req, res) => {
    // get agent from request
    let agent = new WebhookClient({request: req, response: res})

    // create intentMap for handle intent
    let intentMap = new Map();

    // add intent map 2nd parameter pass function
    intentMap.set('webhook-demo',handleWebHookIntent)

    // now agent is handle request and pass intent map
    agent.handleRequest(intentMap)
})

function handleWebHookIntent(agent){
    agent.add("Hello I am Webhook demo How are you...")
}

/**
* now listing the server on port number 3000 :)
* */
app.listen(3000, () => {
    console.log("Server is Running on port 3000")
})
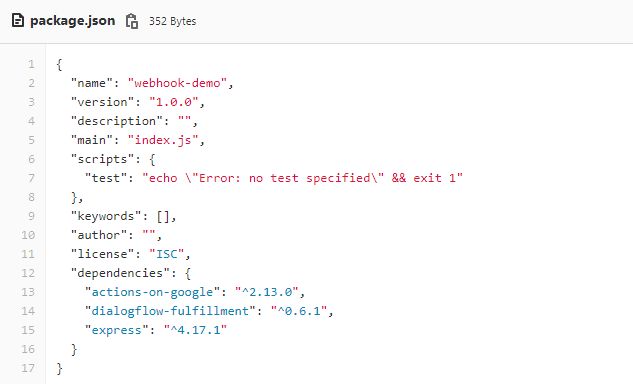
Now, we are ready to run the server. Let’s configure some commands and checkout the package.json file.
The package.json file consists of the name of the application, version of the application, main file, test script, dependencies, etc. We can change these things as well – for example, node application name, application version, etc
Once the NodeJS setup is done, then Ngrok is used to create a public URL for the webhook and listen to port 3000 (in this example). For Dialogflow fulfillment, you will need an HTTPS secured server, the localhost will not work. You can also use a server and point a domain with HTTPS to that server.
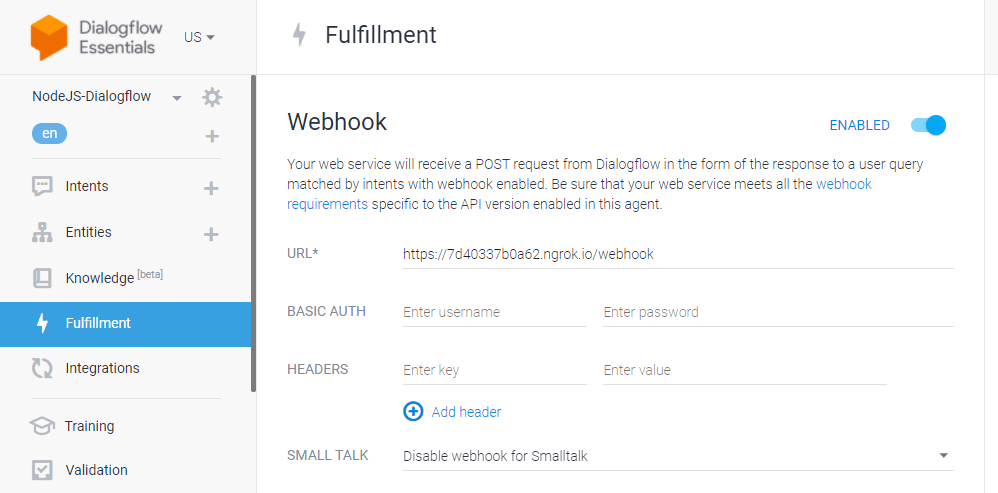
You will get a URL like https://7d40337b0a62.ngrok.io/webhook where the webhook is the POST route for Dialogflow we mentioned in the application server.
Copy the URL https://7d40337b0a62.ngrok.io/webhook and paste it into the Dialogflow fulfillment “URL” field
Once the Dialogflow setup is done, you can easily add it to your website or apps using Kommunicate.
Suggested Read: Add Chatbot to Your Express jS Framework
At Kommunicate, we are envisioning a world-beating customer support solution to empower the new era of customer support. We would love to have you on board to have a first-hand experience of Kommunicate. You can signup here and start delighting your customers right away.

