Updated on May 28, 2026
In the previous post, we presented you with simple and effective guides to integrating Dialogflow bot in a website, Android and iOS apps.
In this article, we will be sharing steps to do the same in an Ionic/Cordova app. All you need to build a sample chatbot using Dialogflowand Kommunicatefor an Ionic/Cordova app.
Both Kommunicate and Dialogflow have free accounts so you can get started immediately.
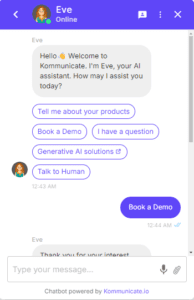
Below is an example of a Kommunicate Support Bot (a customer support qualifying bot) developed in Ionic/Cordova/PhoneGap using Dialogflow and Kommunicate. You can check out the functionality of the Kommunicate Support Bot on the Kommunicate website.
In Kommunicate’s Ionic/Cordova/PhoneGap plugin, we support both Android and iOS and we made it simple using npm package install.
The actionable rich messaging-powered bot can reply based on whether users are on chat for general queries, technical queries, checking out, or scheduling a demo. Check the image below:
You can use your existing Dialogflow bot or checkout bot samplesto build a qualifying bot of your own. Download the Kommunicate Support Bot from here and import it into your Dialogflow account.
Now, let’s jump into the crux of the post.
Building Ionic Cordova chatbot
Step 1: Setup an account in Kommunicate
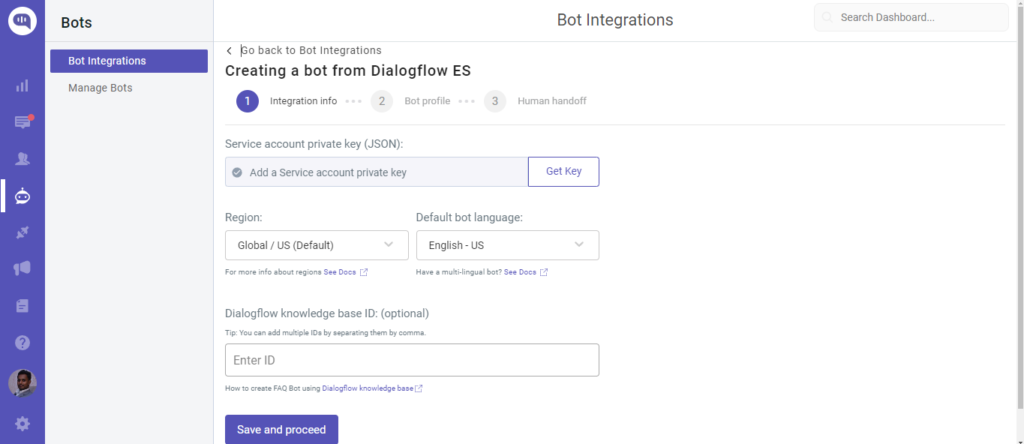
This is fairly simple. You can get a free account in Kommunicate. Sign up and navigate to the Bot section. Click on Settings in the Dialogflow block.
Now, navigate to your Dialogflow console and download the service account key file. Here are the steps to locate the file:
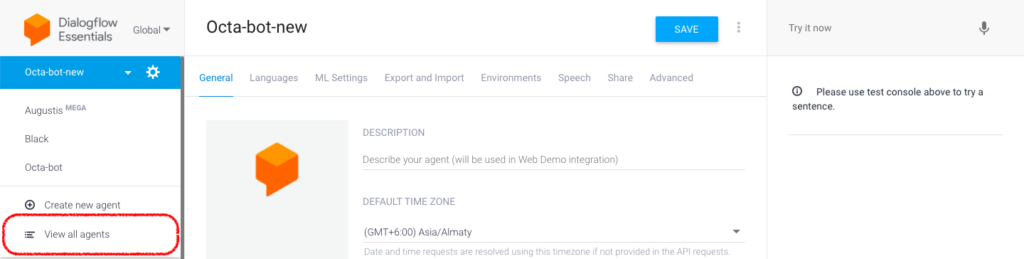
Open Dialogflow Agent settings, click on View all Agents and choose the recently created agent. Click on the project ID on the subsequent page.

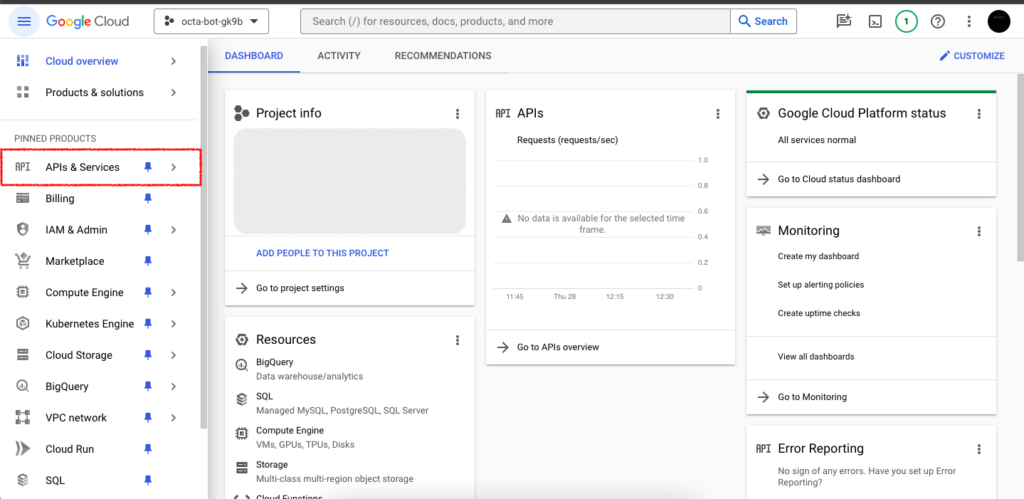
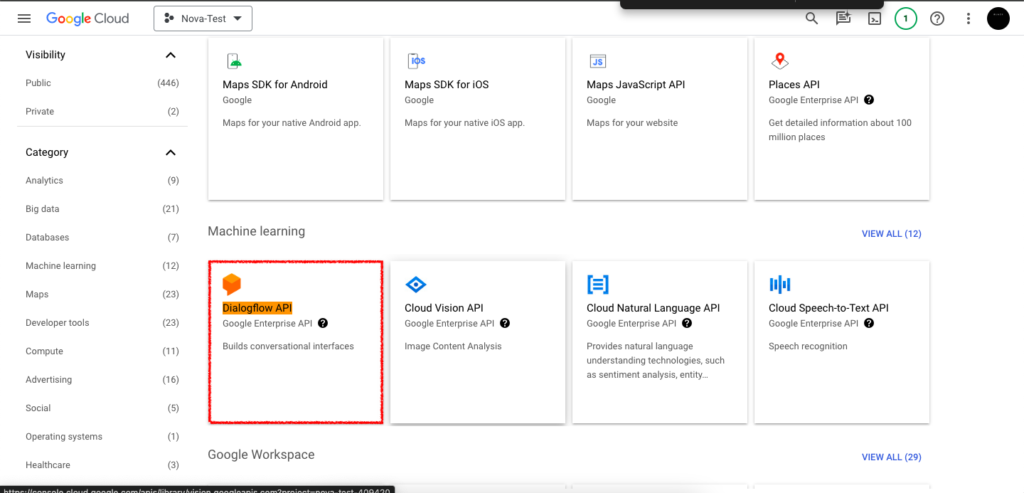
Enable the Dialogflow API for the project
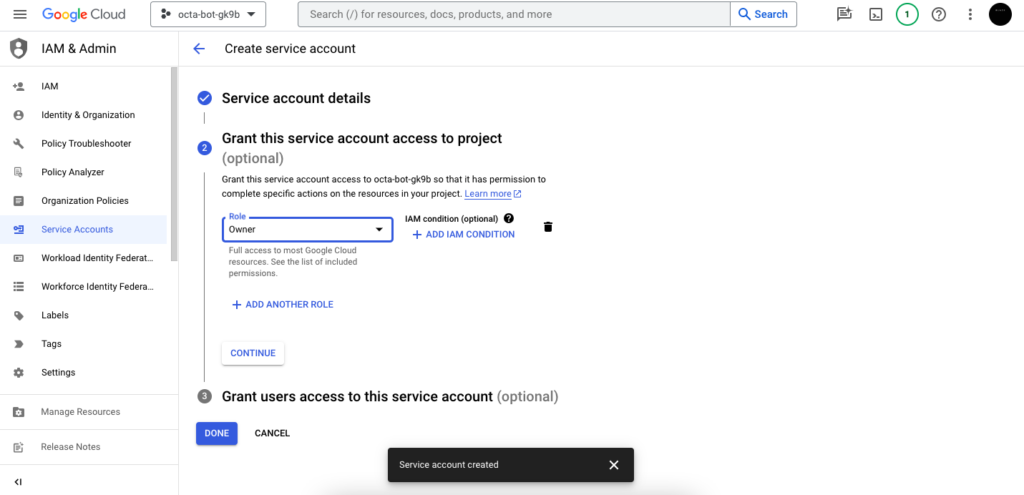
Click on Service Accounts from the IAM & Admin Panel, select the role as Owner and click Done
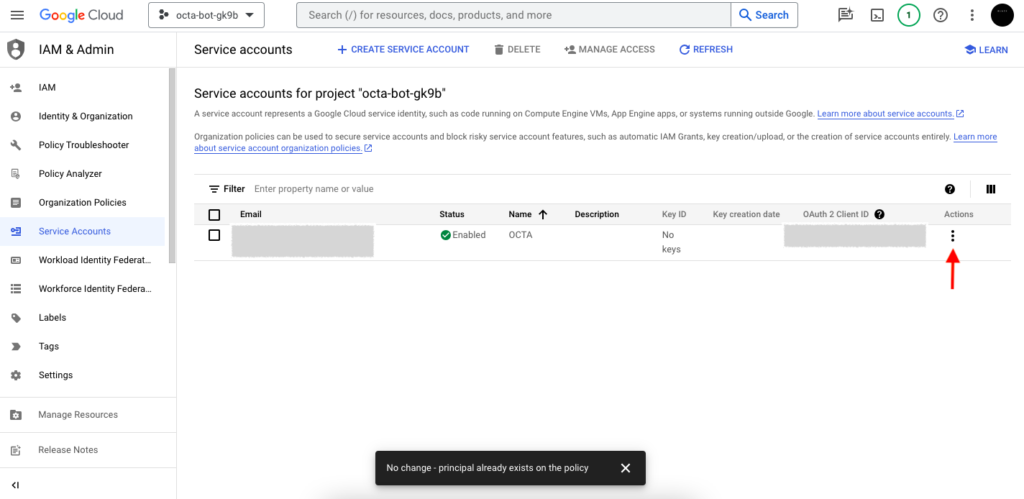
On the next page, click on three dots and select Manage Keys. Now you can add a new key and choose type as JSON.
Finally, a key will be downloaded after this process.
As a final step, go to the Kommunicate dashboard, upload the key, and follow the steps to set up the bot.
If you are using V1 APIs, just copy your client and developer token from the Dialogflow console and paste in the fields provided. Click on Save and Proceed.
To integrate Dialogflow CX into Kommunicate follow the same instructions to download the JSON key and mention the Agent ID in the kommunicate dashboard.
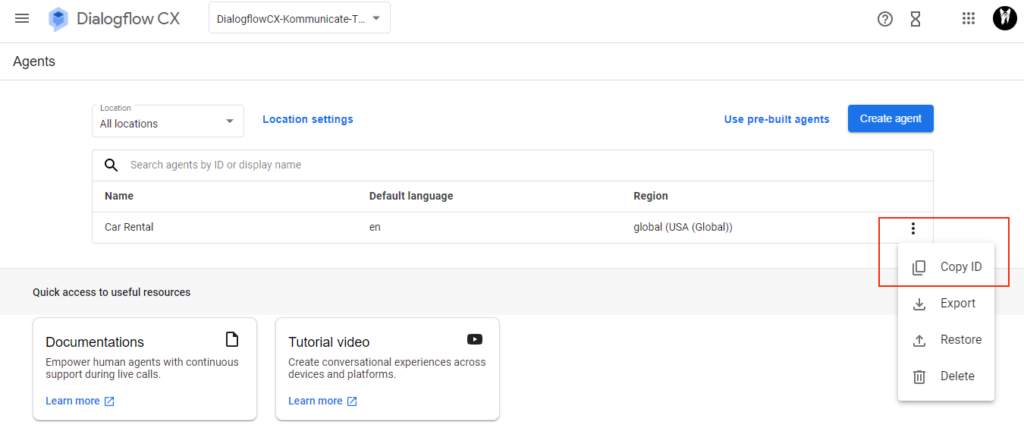
To get the Agent Id:
Go to Dialogflow CX console >> Select the Project >> In the Agent you have created ‘Copy ID’
It will be in the following format, projects/test-covid-rwvr/locations/global/agents/e2c5d8a3-f416-4f32-bfc9-d986d540abd here the Agent Id is e2c5d8a3-f416-4f32-bfc9-d986d540abdb Copy the Agent Id
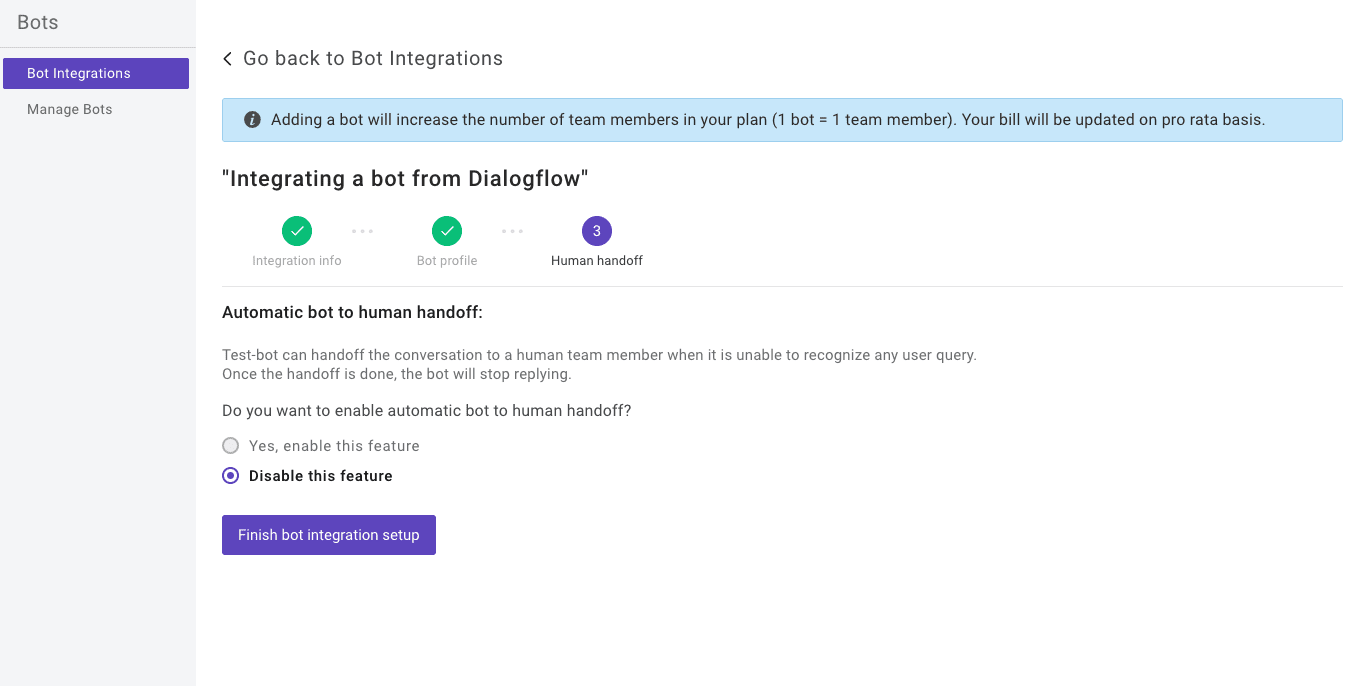
Setup your bot’s name and profile picture and choose whether to allow the bot to human handoff for your newly created bot. Click Finish bot integration setup and voila, your bot is now integrated.
You can check/edit your integrated bot using the above path:
Reduce response time, enhance support workflows, and improve customer satisfaction with AI-driven email ticketing from Kommunicate!At Kommunicate, we are envisioning a world-beating customer support solution to empower the new era of customer support. We would love to have you onboard to have a first-hand experience of Kommunicate. You can signup here and start delighting your customers right away.


