Updated on May 5, 2026
A WhatsApp Business account lets a company message customers through the WhatsApp Business App or, for larger teams, through the WhatsApp Business Platform/API.
From a quick chit-chat and exchange of emoticons with friends to seamless communication with clients, WhatsApp has come a long way! Yes, we are talking about the WhatsApp Business app.
Launched in 2018 with a myriad of custom features, the app turned out to be incredibly useful to entrepreneurs. In this guide, we will learn how to create a WhatsApp business account. First, let’s see how WhatsApp Business is helping businesses worldwide.
What is WhatsApp Business?
WhatsApp Business is a platform designed for business purposes. It means that there will only be professional intervention on the account. The app offers features like Quick Replies, Greeting Message, and Away Message. These options bring feasibility in communication. The app is available on the Android Store and Apple Store. You can also access the business version using WhatsApp web.
WhatsApp is primarily seen as a type of personal communication, end-to-end encrypted between two individuals. WA Business takes this personalization to the next level, where businesses can communicate with individual customers using the same WhatsApp platform that customers are familiar with.
WhatsApp Business allows businesses both small and large to communicate with users on WhatsApp, without the need to install another application. WA Business thus essentially separates a business from its personal communication, and helps businesses cater to their customers with a set of tools that are dedicated to customer communications.
Enhance customer support with AI-driven email ticketing – automate workflows and resolve queries faster with Kommunicate!Meta introduced WhatsApp Business in 2018, and today, there are over 50 million businesses using WhatsApp Business.
How to Create a WhatsApp Business Account
Follow this easy guide to know how to create a WhatsApp Business account:
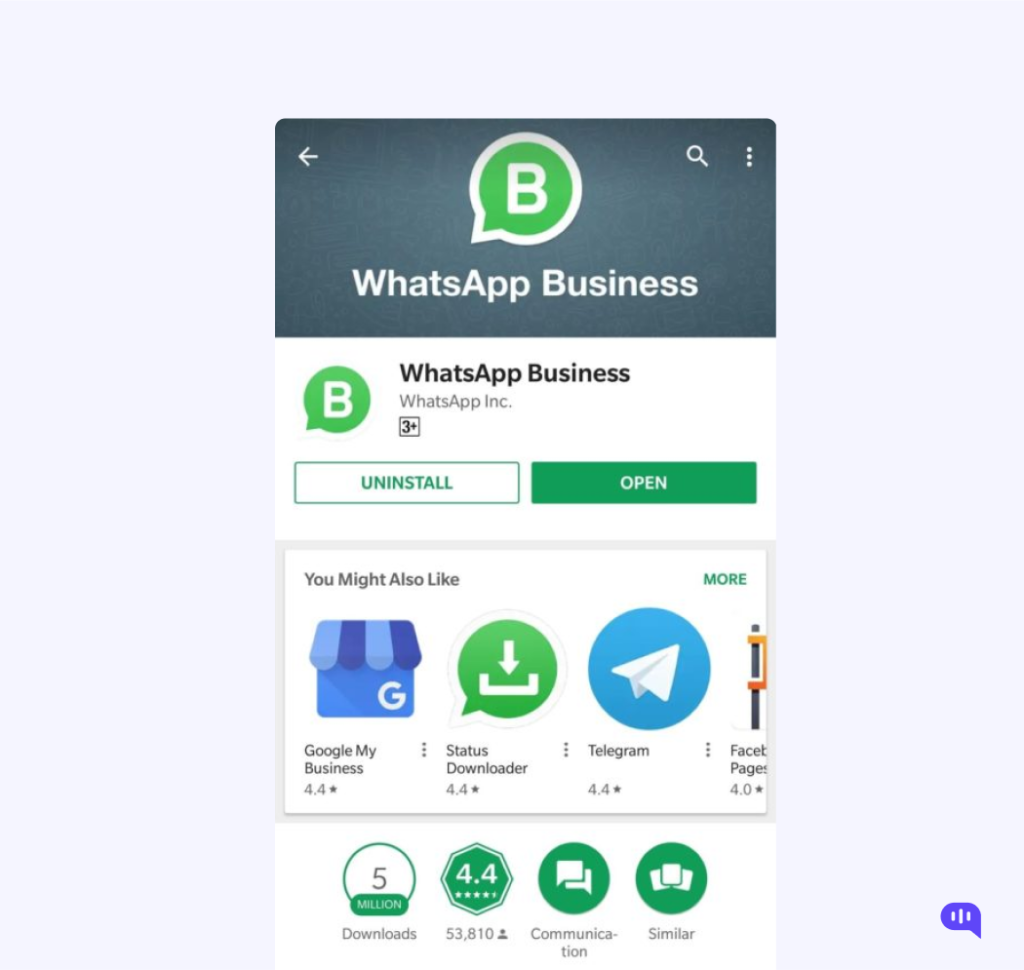
1. Install WhatsApp Business App On Your Mobile
You can easily find the WhatsApp Business app on the Google Play Store and App Store. Besides, it is free to download. So, the first thing you need to do is install the WhatsApp Business application on your mobile.
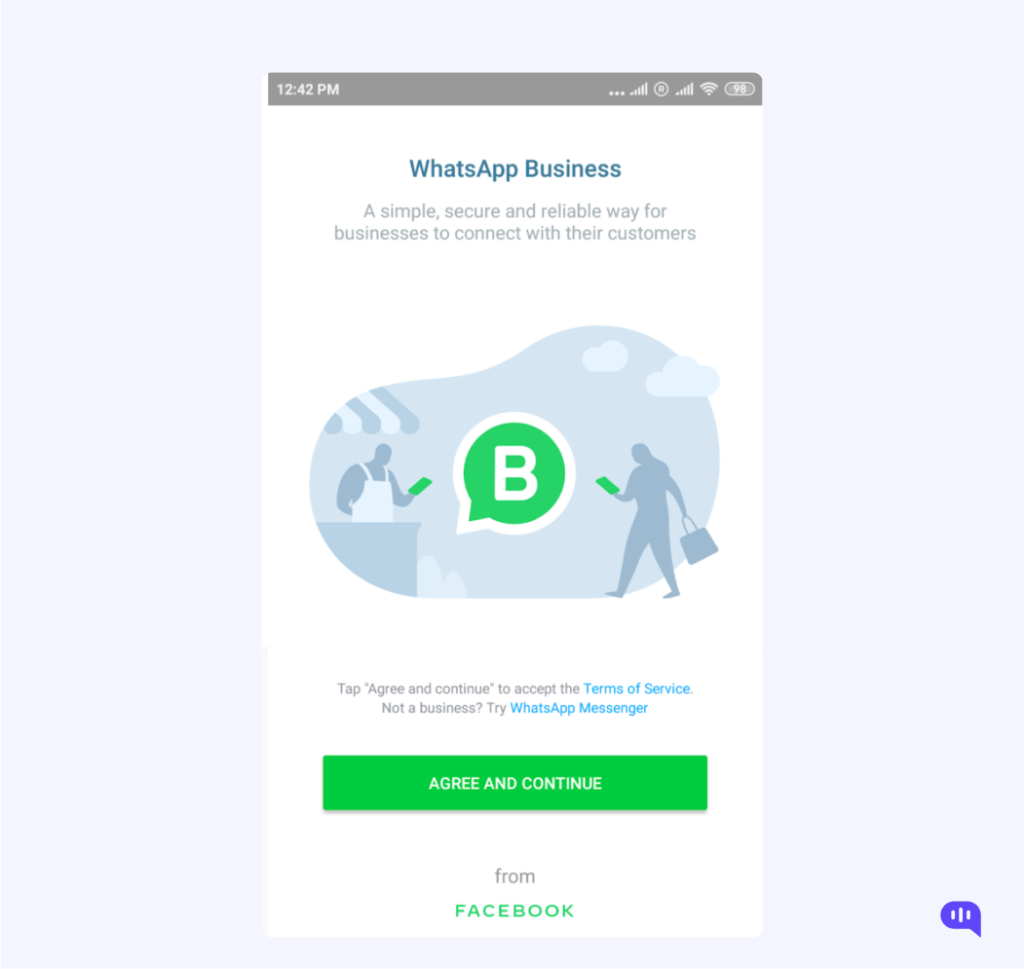
2. Launch the App
Congratulations. You have just completed the first step and are on the way to create a WhatsApp Business Account.After downloading the app, launch it on your device. Now, you will be required to agree to the Terms of Service before proceeding. It is best that you read the policy before moving further. Then, you can accept it and click the “Continue” button.
3. Create Your Business Account
You can either use your existing number to set up a WhatsApp Business account or opt for a new one. In your next step, you will be asked to select the number you’d like to use to make your WhatsApp Business account.
You will find two options appearing on your screen. One is for using the current number and another will be for a new number. You can choose one as per your preference and move to the next step.
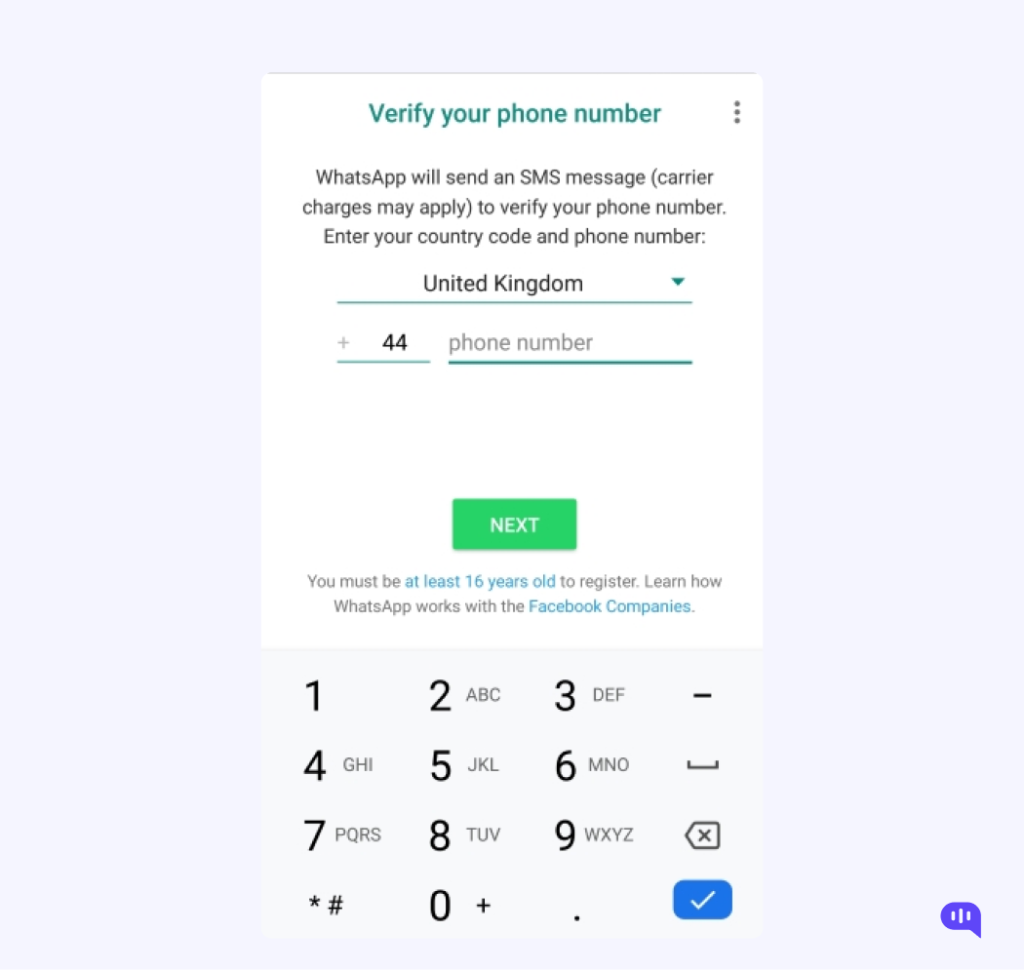
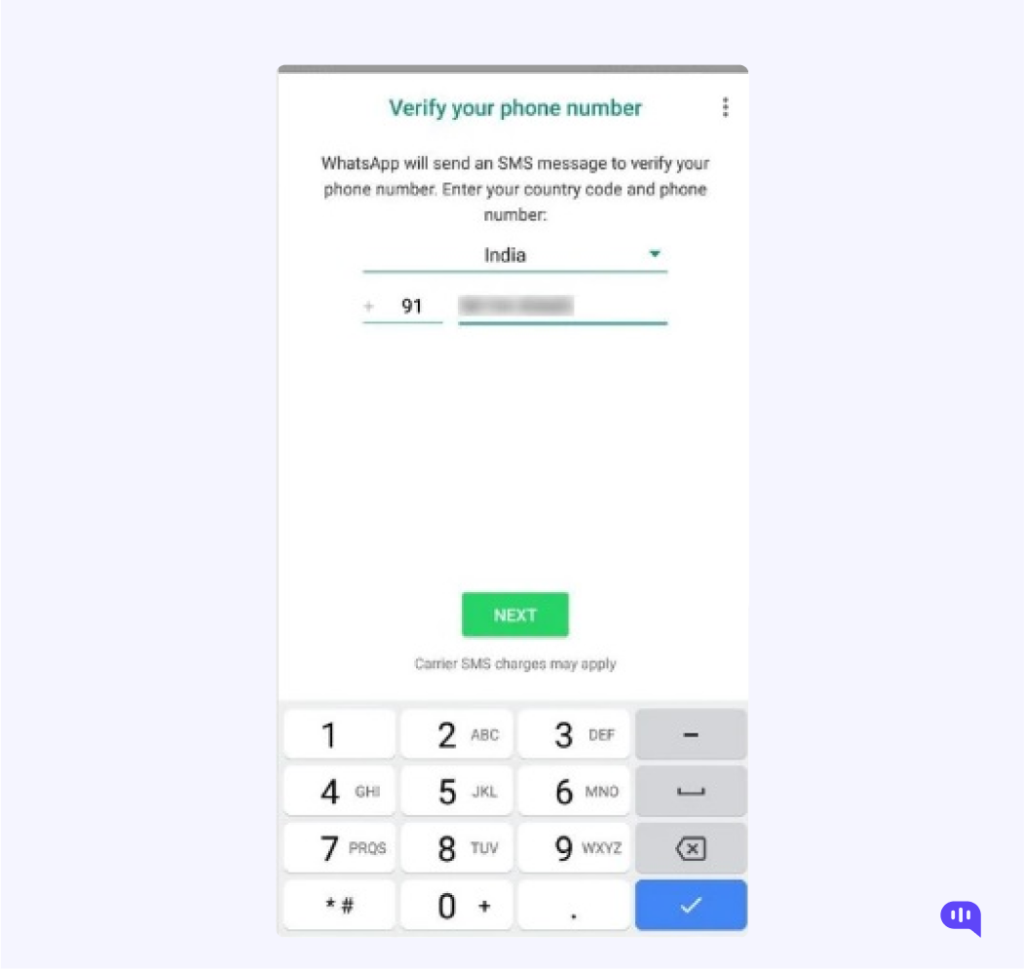
4. Verify Your Number
Once you have chosen the number you’d like to have your WhatsApp business account with, the next step is to verify it. Enter the number that you’re linking with your WhatsApp Business app. You will receive a verification SMS or Call on it.
It will be a six-digit code which you will receive via SMS. The app will automatically fetch the code and verify the number. In case you do not have the number handy, you will need to enter the number manually. If you have trouble getting the SMS, you can opt for verification through a call.
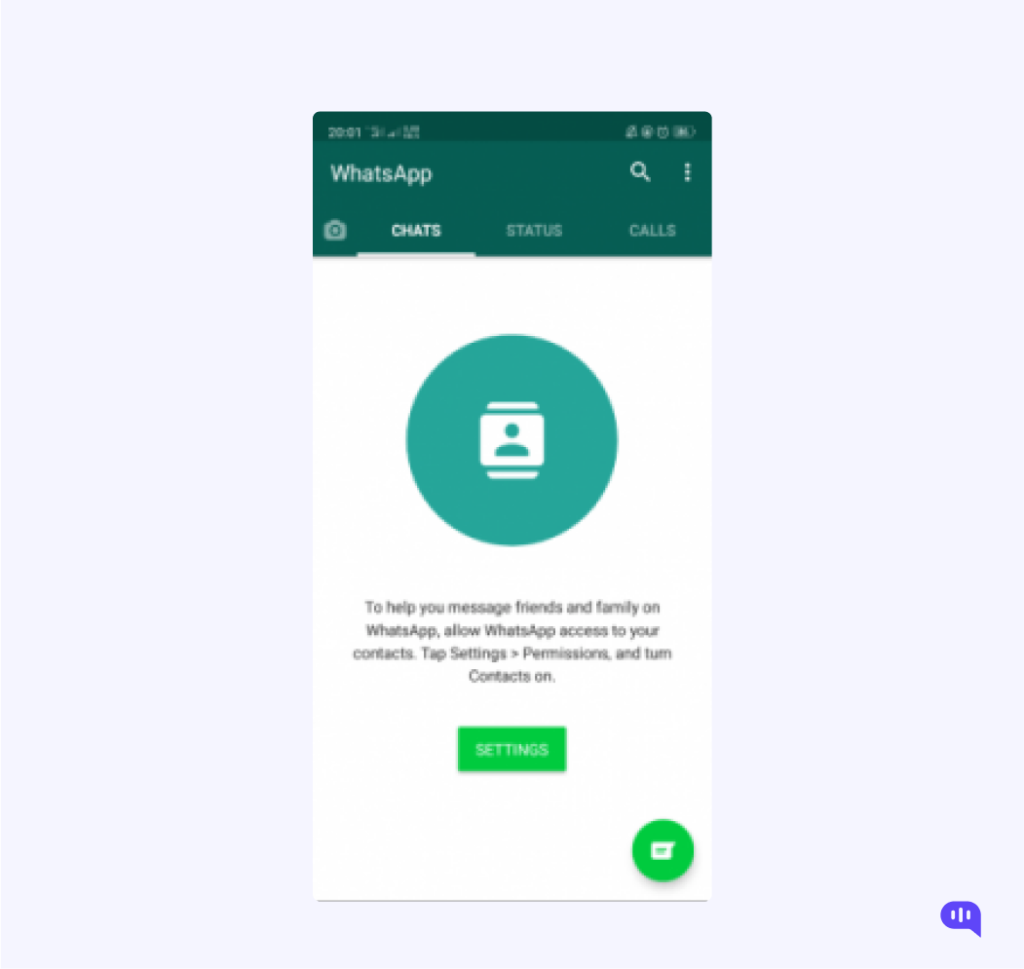
5. Grant Permissions to Access Contacts and Files
Now that you are going to use your WhatsApp business account for professional errands, make sure that the app can access your contacts and media files.
Go to your mobile setting for the WhatsApp Business app and turn on the Access to notifications, audio, contacts and all media files. This will enable seamless sharing and accessibility to everything on your app.
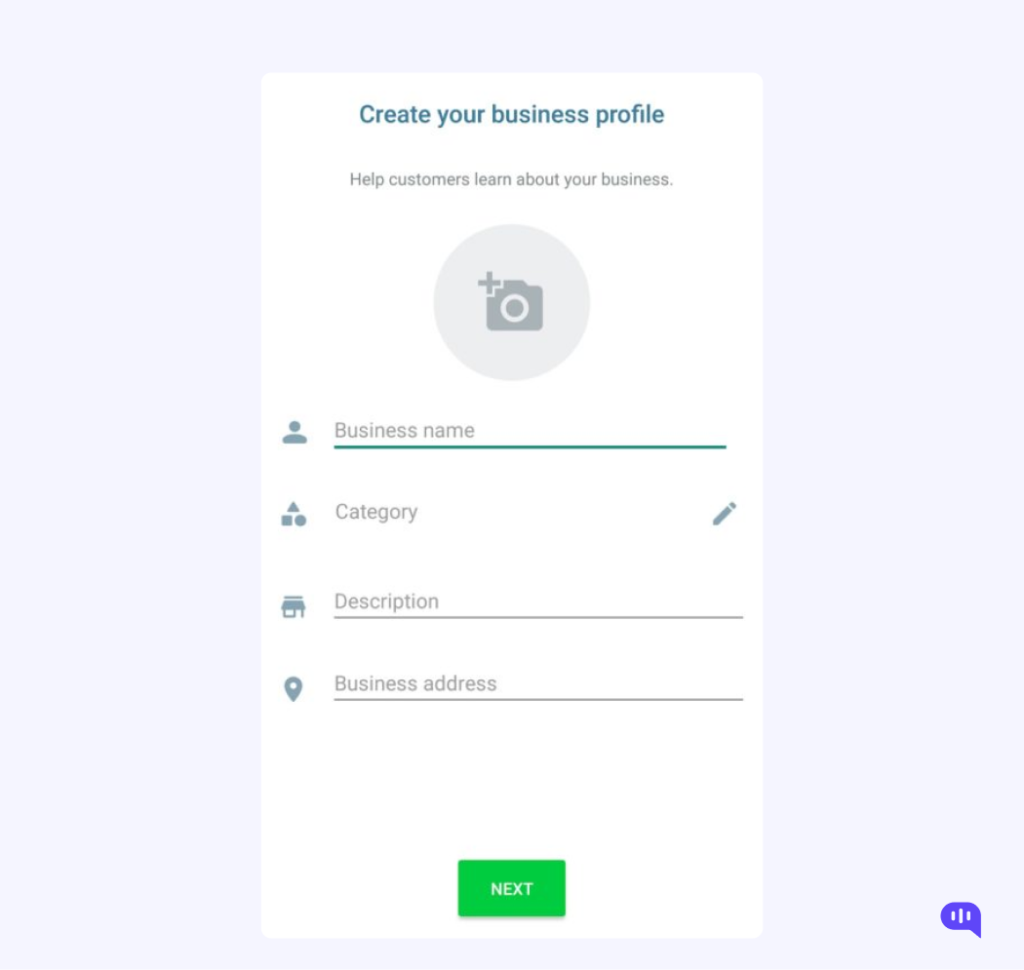
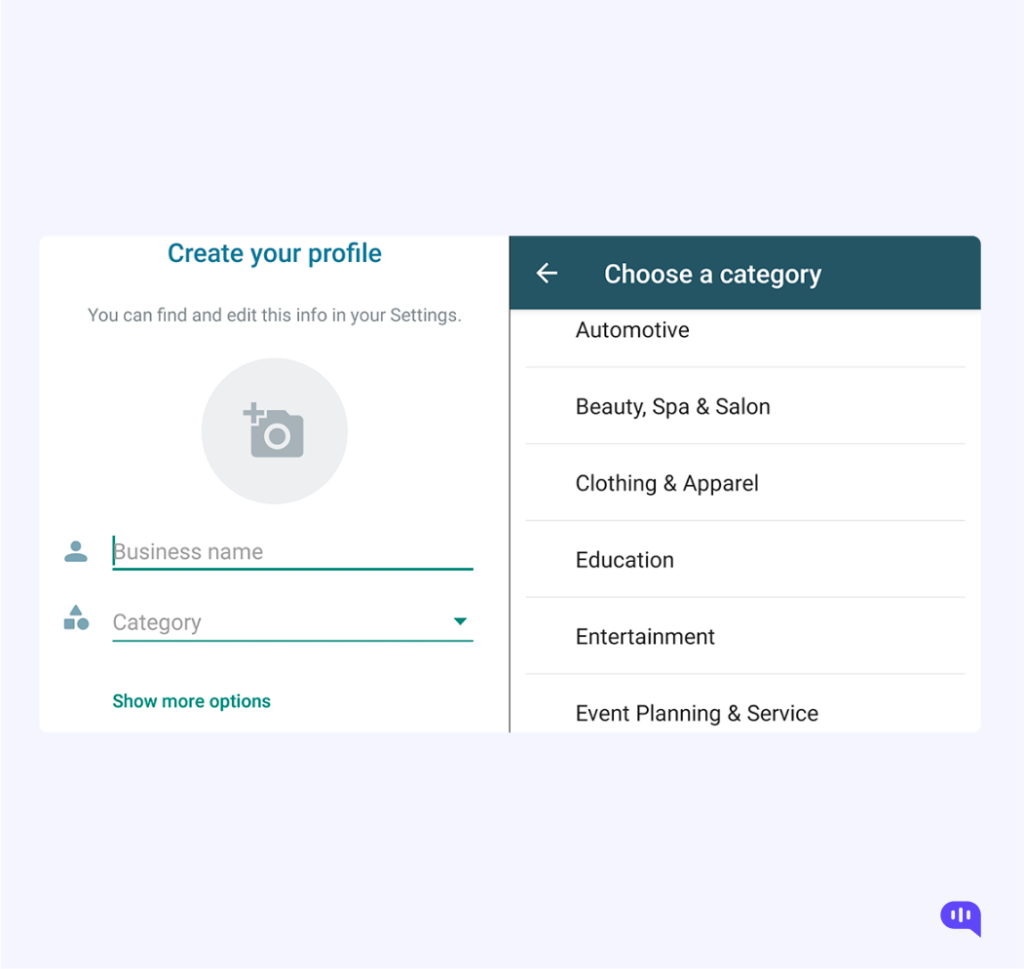
6. Create a Business Profile
Once you’ve been through the steps mentioned above, it is finally time to create your WhatsApp Business profile. You will be asked to furnish your account with various details related to your business.
Let’s take a look at the requirements:
- Profile Picture: You need to add a profile photo that associates with your business like a business logo. You can use professional services for background removal from images to ensure your logo looks clean and presentable on your business profile.
- Business Name: Enter the name your business is officially known and used as.
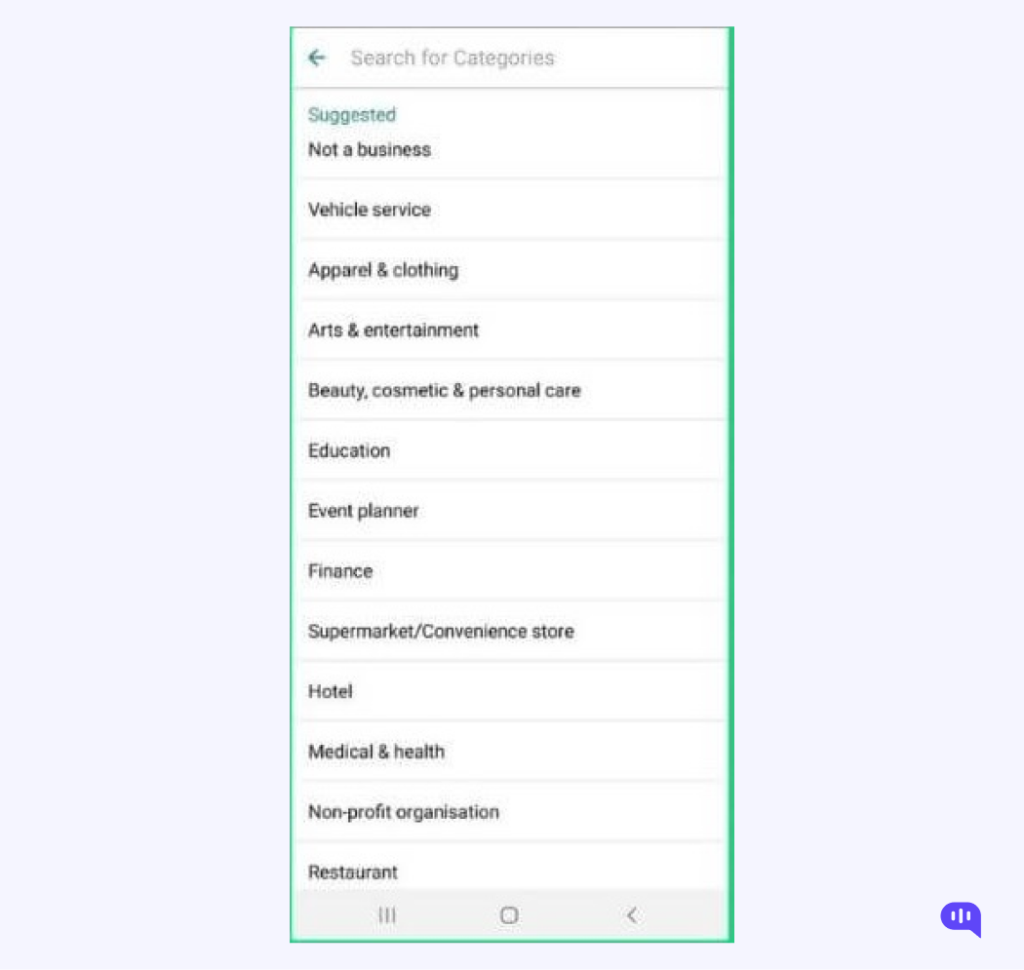
- Category: In this field, you have to select the category/ industry in which your business operates. You will have a dropdown menu of categories to choose from.
- Description: Describe what your business is all about. Note, you have to do it within 256 characters.
- Business Address: Enter the official address of your company office.
So, you must fill these details in order to to allow others to recognise you. Apart from them, you can also mention additional details to strengthen your profile setup. You will find these options in the “Explore business tools” section. Let’s have a look:
- Business profile: Here, you can enter details like your official email address, website link, and work hours of your business operations.
- Catalogue: You can use this option to display the list of your services and products.
- Messaging tools: You can compose automated messages to conveniently manage the communication with your clients.
Updating these details on your profile will make it look more interactive and boost your interaction with the customers. However, these are optional and you can fill them in later.
If you’ve opted to create your existing WhatsApp number to create a business account, you will need to convert one to another. Keep reading to learn the method.
How to Convert Your Personal WhatsApp to WhatsApp Business Account
Here is a step-by-step guide on how to convert WhatsApp to a business account.
Create a Backup of Your WhatsApp Account
Before anything else, you need to make sure that you have a backup of your WhatsApp data. All you need to do is:
- Open WhatsApp on your Android or iOS device.
- Navigate to WhatsApp Settings.
- Expand the Chats section.
- Tap on the “Chat Backup” option.
- Click “Back Up Now”.
Wait while the backup process completes. After that, you can move to the transfer process.

2. Download the WhatsApp Business App
Once you have a backup, it is time to install the WhatsApp Business application on your device. The app is available for both Android and iOS users.
3. Accept the Terms of Service
While proceeding, you will find the terms of service on the screen. You need to agree to confirm them.
4. Proceed with Your Current Number
Your WhatsApp account will detect the personal number you’re using. Now, you have to carry out the transfer process.
5. Transfer Your Data
After you choose the existing number to proceed with, the account will automatically start transferring your data to your business account.
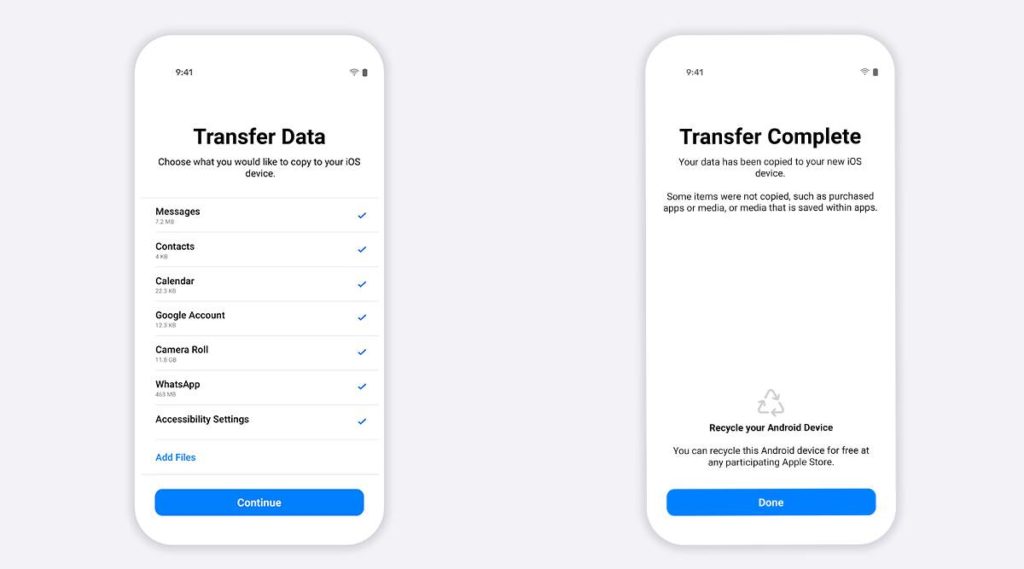
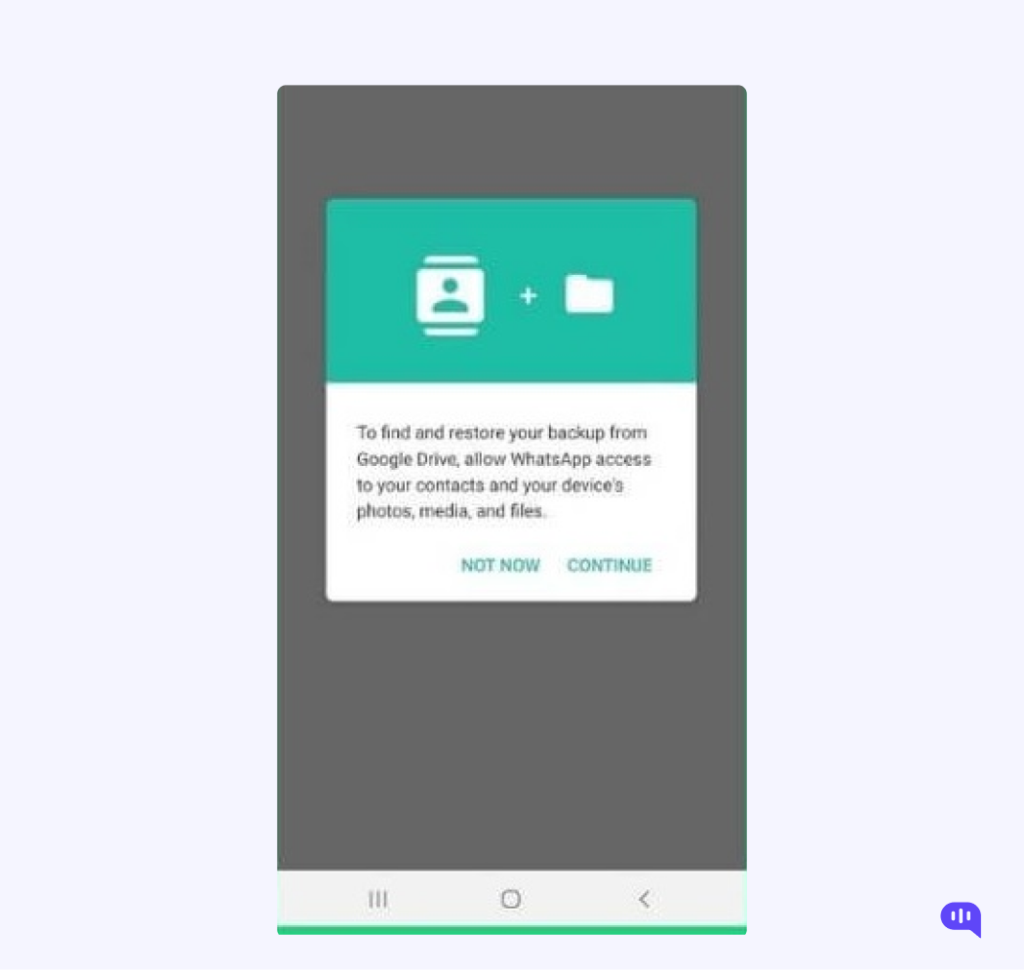
6. Grant Permissions
Wait when the WhatsApp business account transfer is going on. After the transfer is completed, you need to:
- Tap on the “Restore” or “Continue” option.
- Click the “Next” button.
- Now, allow permissions to share photos and videos, along with other data like contacts and files.
This will allow you to access data from your standard account to a business account.
7. Create a WhatsApp Business Account
Now that you have successfully carried out the above steps, move on to creating an account. In this step, you need to set up a profile photo that associates with your business, enter your business name, category and a brief description of what your business offers.

8. Compose Your Business Profile
Create a business profile by adding details related to your business. To do that, follow these quick steps:
- Head to the WhatsApp Settings section.
- Tap on your Business Name.
- Add relevant details.
So these are the steps to convert your standard WhatsApp account to WhatsApp business.
If you are short on time, you can also check out this video, where we have explained the process to you in a step by step manner:
WhatsApp Business App: Pricing
WhatsApp Business App does not charge anything for actually using the app, but that does not mean that there are no additional costs involved. You will have to shell out a few dollars to get a dedicated sim to use the WhatsApp Business App, because WhatsApp does not support using WhatsApp for business and personal use on the same number.
WhatsApp Business APIs : Pricing
Different WhatsApp Business APIs have different pricing, since some Business Service Providers (BSPs) charge their own fees on top of what WhatsApp is charging.BSPs may impose fees for setup, maintenance and other things, on top of WhatsApp fees.
If businesses opt for WhatsApp Cloud API instead, they only need to pay per conversation. This conversation based pricing can be of two types – User initiated conversations and Business initiated conversations.
Final Thoughts
We hope by now you have an idea on how to make a WhatsApp Business account. Creating a WhatsApp Business account may be different from what it takes to create one for personal use, but it is simple and fast. With WhatsApp already working as a primary mode of communication on the personal front, entrepreneurs can use it to connect with customers more effectively. Now that you have a WhatsApp Business account, make sure to bring the best use of the features it has to offer. And then, you will have more control over your business goals and progress.
At Kommunicate, we are envisioning a world-beating customer support solution to empower the new era of customer support. We would love to have you onboard to have a first-hand experience of Kommunicate. You can signup here and start delighting your customers right away.


